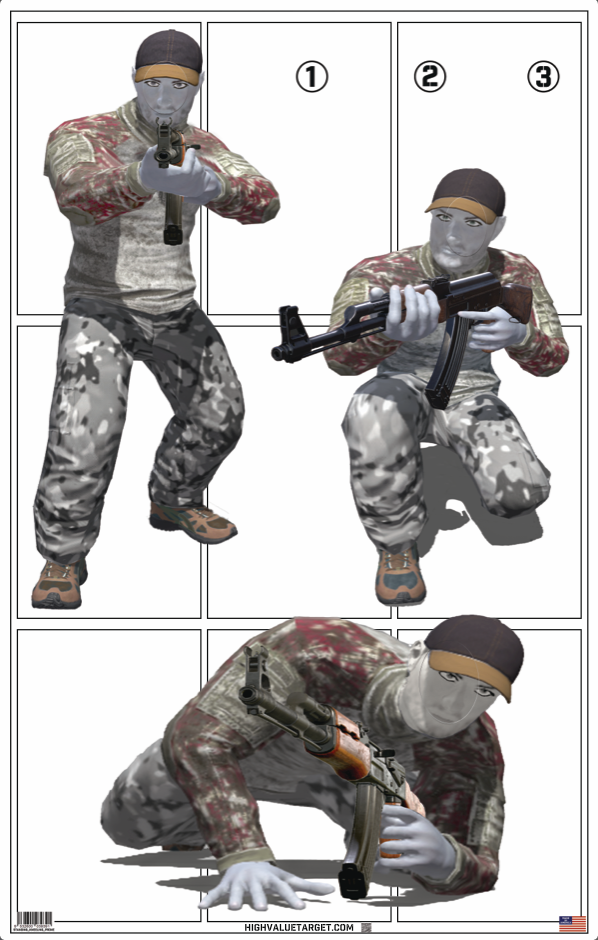
Depicted on the this target are the 3 fundamental shooting positions, standing, kneeling and prone. How fast can you move into the 3 fundamental shooting positions? Practice shooting this target while moving yourself into these 3 positions. There is a tremendous amount of technique and nuance to all 3 positions. An ability to transition into the 3 fundamental positions can easily mean the difference between winning and losing. However, consider there is no "reset button" when you lose during this game it's lights-out for good.
*Outdoor range only
Difficulty - Novice 🟦
Firearm - Carbine Rifle (AR15, AK variant or
similar)
Distance - 10 to 25 yards
Ammo - 100 rounds
Gear - Gloves and knee pads recommended (not
required). Two 30 round magazines (10 or 20 rd
okay).
Learning Objectives
1) Body position proficiency, standing, kneeling and prone.
2) Rifle shot placement at close range. Mechanical offset (red dot optics sighted in at 50 yards or
more).
3) Seeing where to shoot, attention to the threat, not the weapon.
*Be advised, this particular drill may increase heart rate, consult with your doctor before performing rigorous exercise.
Purpose - to increase proficiency in moving into the three primary rifle positions correctly, quickly, and efficiently. This will be done through repetition and
personal programming using an ancient martial arts training method known as the kata. You will be rehearsing the Standing, Kneeling, Prone kata.
Description - start from the Low Ready or any other desired starting position. Check stance and rifle grip, when ready fire two rounds standing, drop to the
kneeling and fire two rounds kneeling, drop to the prone position and fire two more rounds prone; return to standing (repeat).
• Go through 90 rounds in this manner. Set a pace that corresponds to accuracy.
• Similar to burpee's the shooter will be up and down 5 times.
• There are six rounds fired each iteration of the drill.
• Engage the target character that corresponds to the shooters position.
• To extend the duration of the drill or save ammunition, fire 1 round at each position
instead of two.
• The shooter is encouraged to use a shot-timer and score the target.
• All shots outside the head are counted as misses.
• The shooter may choose to opt out of any particular position, standing, kneeling or prone. Or, change the number of target characters the
shooter engages from each position, or the number of rounds engaged at each position. Be creative.
• The shooter is encouraged to rehearse getting into each position with an unloaded rifle, clear & safe. Rehearse it, then run it.
Difficulty can be increased by including magazine changes in the training. For example, load 3 magazines of 10 rounds to force frequent
magazine changes. To increase difficulty further, randomly insert dummy training rounds into the magazines, forcing a malfunction at a catastrophic distance to
target. Implement the appropriate immediate action, which may include a transition to pistol.
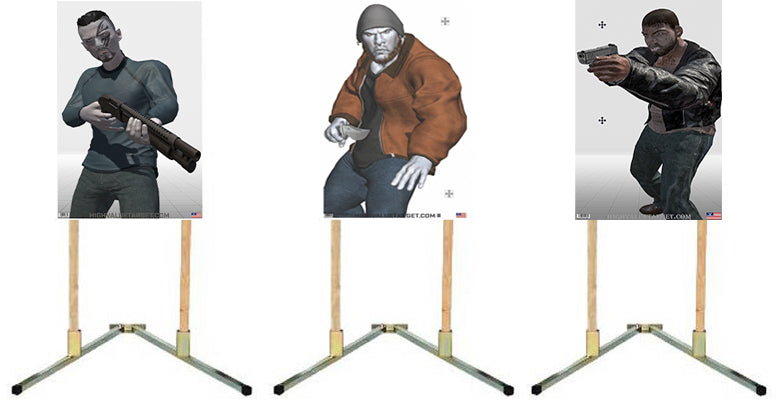
This target also works well for rehearsing transition drills.
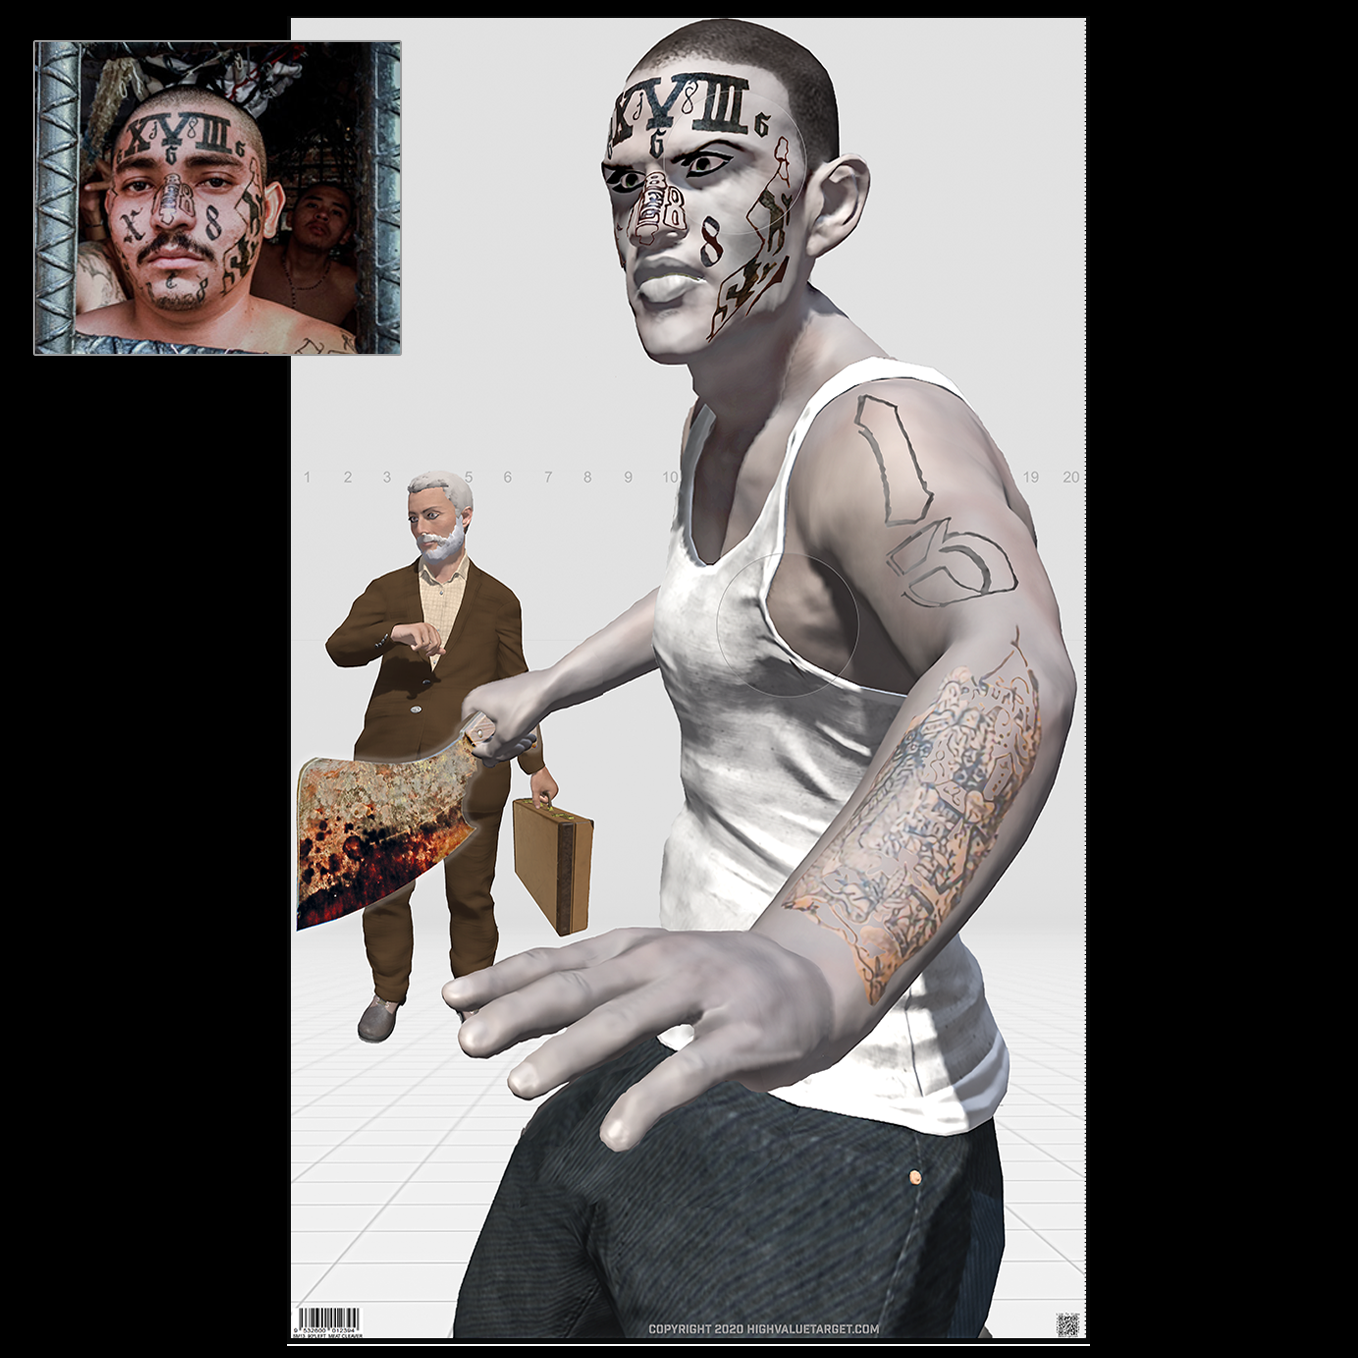
Gun-fighting is usually dynamic, people are rarely static and standing still. Typically, the situation is fluid and people are moving. You, intend to train to neutralize the threat so target characters depicted in motion and in various positions is realistic. What do we do during a gunfight? This target was designed primarily for the shooter to become proficient at quickly and efficiently moving into various positions
Image Processing Training - the IPT™ give attention to shots fired that impact the weapon depicted on the target characters. It's common for a person to recognize the weapon and aim at the inanimate gun, instead of shifting focus and sight picture to the most advantageous location on the target character.
Typically, gunfire exchanged at close distances results in impacts to the hands and forearms. This is a training issue often seen during force-on-force
training but rarely seen on the range. However, with this target and most of our other targets the shooter can teach themselves this critical learning objective.
Tips:
When running a red-dot optic sighted in at 50+ yards implement mechanical offset when aiming. The mechanical offset is equal to the distance of optic over the bore. Typically, an optic on a rifle is about an inch 1/2 above the bore. When engaging at room-clearance distances the shooter will need to place the red-dot aiming point about an inch 1/2 over the top of the intended bullet impact point.
Fern
Leave a comment
This site is protected by hCaptcha and the hCaptcha Privacy Policy and Terms of Service apply.